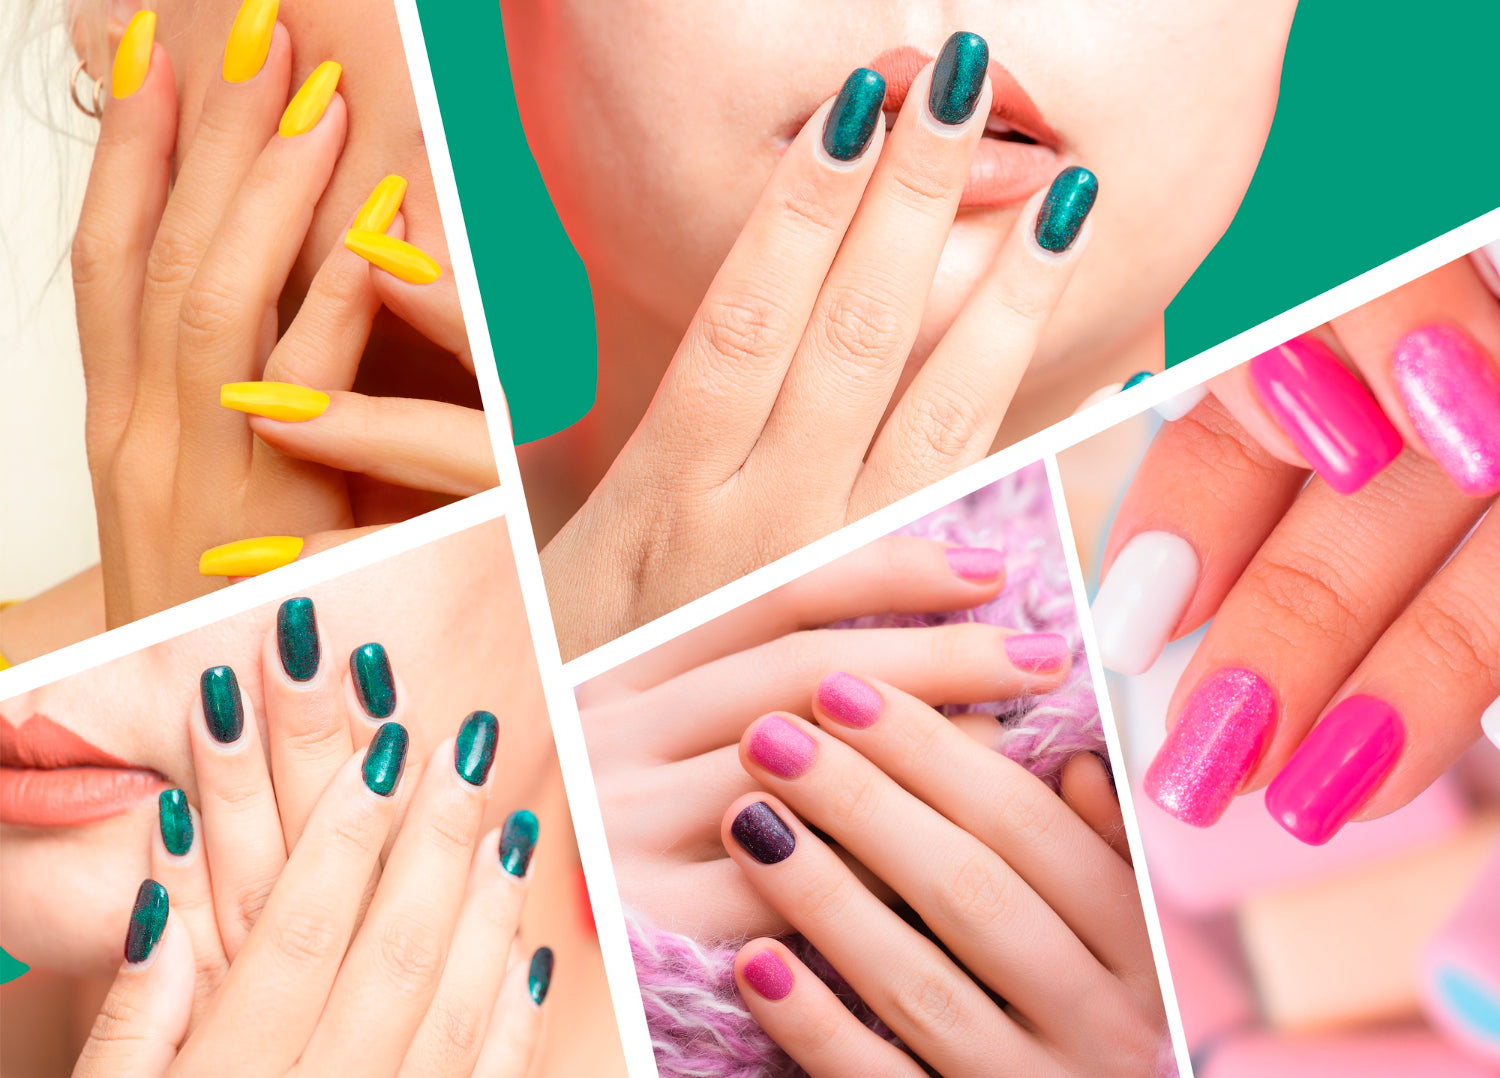
Tailor-Made Beauty: Expert Tips for Each Nail Size and Shape Mani Edition
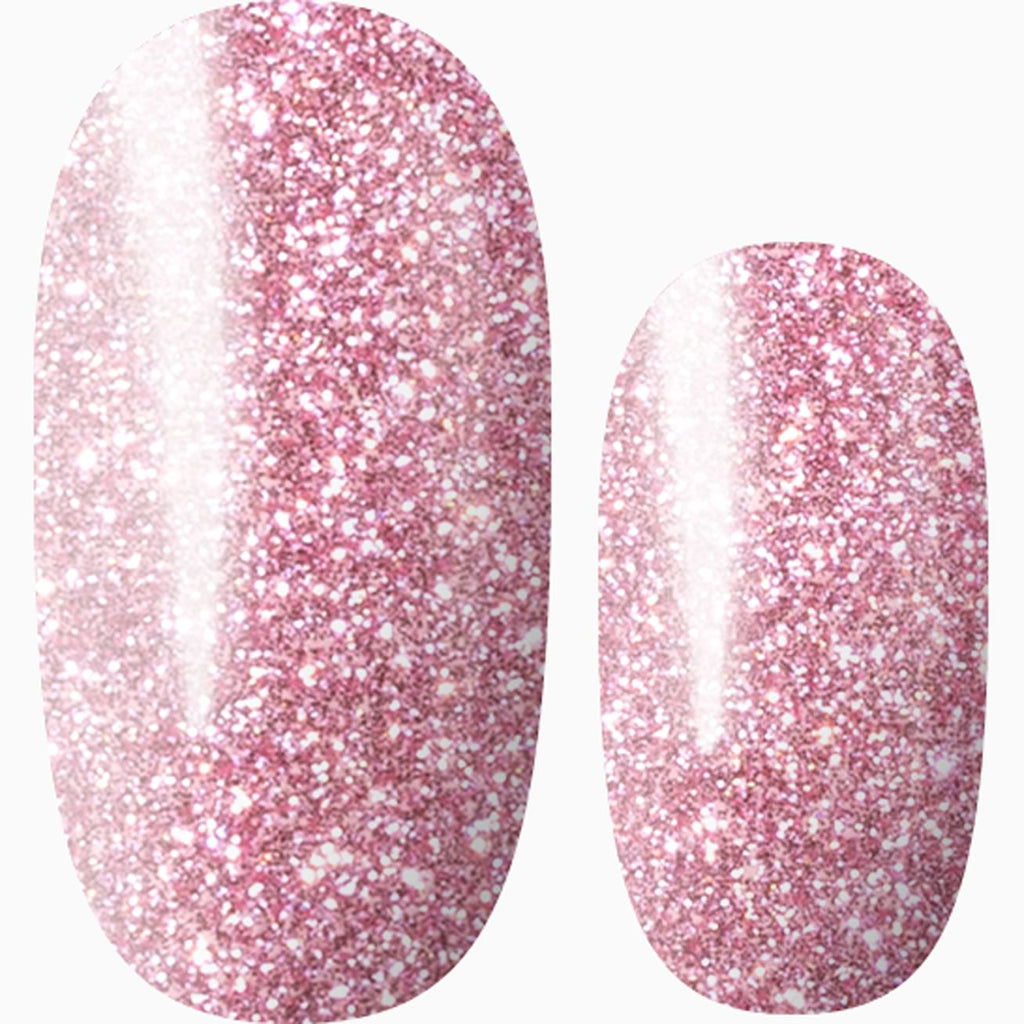
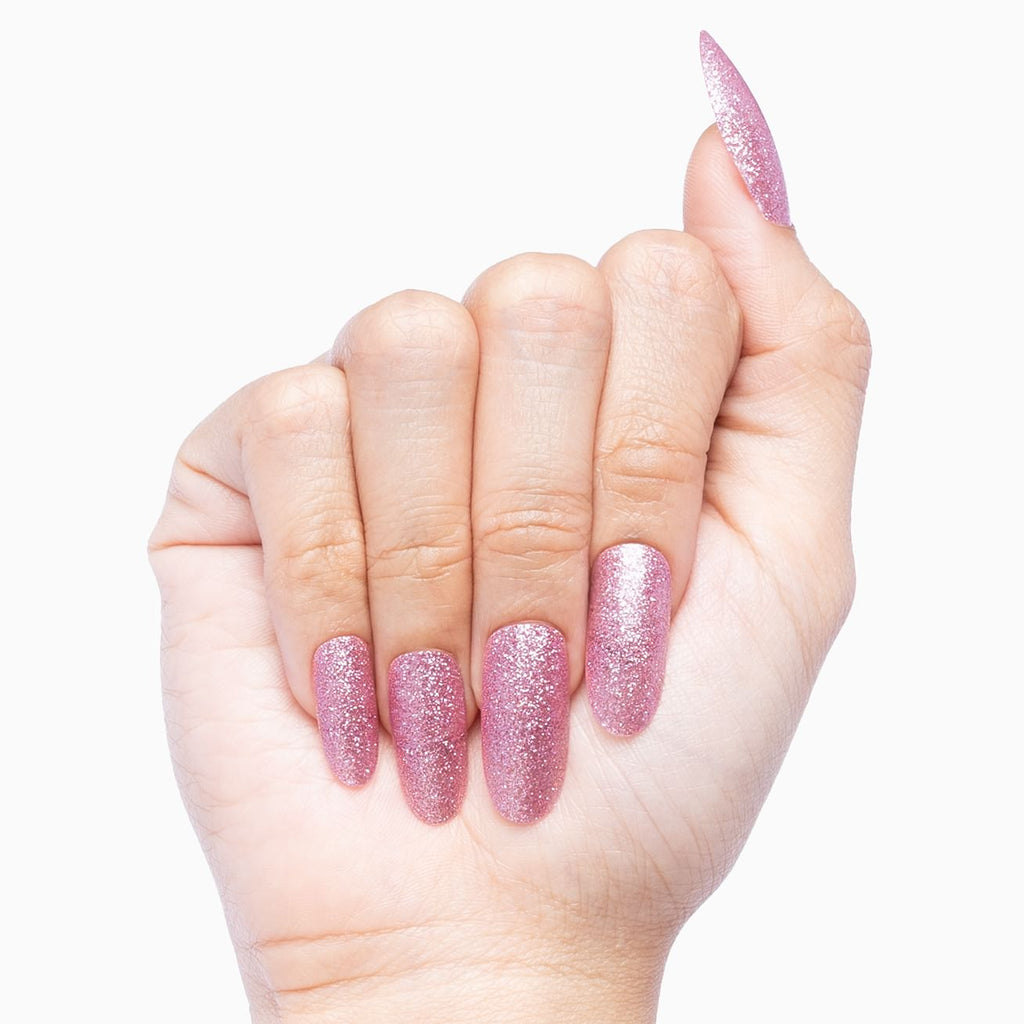
Get the Look: You Are My Sunshine, Lipstick Pink (Glitter), and First Snow
Get notified for back-in-stock: Treasured Gem
Hey there, trendsetters! Are you ready to elevate your nail game to the next level? Nail wraps are about to become your new BFF! Today, we are excited to dive into how to make our nail wraps work perfectly for every nail size and shape. We understand that finding the right fit can be a bit challenging, but fear not, we've got you covered!
Each nail size and shape requires specific techniques and considerations to ensure a flawless application. In this blog post, we will explore how to make nail wraps work for different nail sizes and shapes, covering topics such as positioning, wrap orientation, and posing. Let's dive in!
Understanding Nail Sizes and Shapes

We try to design our wraps so they can be used for most nail lengths and shape! That said, we understand that each nail size and shape has its own unique needs. We'll show you how to make nail wraps work their magic for different nail sizes and shapes.
Here are some common nail shapes to familiarize yourself with:
Square Nails:Bold and Beautiful
Square nails are all about making a statement. They have straight sides with a flat, square-shaped tip.

Image by pink_lackiert_x on Instagram
Get the look: Pink Champagne
Get notified for back-in-stock: Fleeting Beauty
Round: Classic Elegance
Round nails exude a timeless elegance. These have gently curved sides with a circular tip.

Image by emilykayphotos on Instagram
Get notified for back-in-stock: Let’s Connect, Pwetty Peas, and Take My Breath Away
Oval: Sleek Sophistication
Oval nails offer a sleek and sophisticated look. Similar to round, but elongated and slightly tapered at the tip.

Image by ilaaavnails on Instagram
Get the look: Galaxia (holo)
Almond: Chic and Trendy
Almond nails bring a touch of chic and trendiness to your fingertips. They have narrow sides that converge to a rounded, pointed tip.

Image by nail_wraps_mania on Instagram
Get notified for back-in-stock: Sugar Coated Princess, Berry Delightful
Coffin/Ballerina: Edgy Glam
Coffin or ballerina nails are all about edgy glam. Straight sides with a squared-off tip and slightly tapered edges.

Get notified for back-in-stock: You’re My Treasure
Nailing the Positioning Game: Position and Orientation
Now that we've got our shapes down, let's see how nail wraps can work their magic on each one!
There have been so many ways our customers have applied them to the point that they've worn our wraps sideways, upside down, mixed and matched. Nevertheless, proper positioning is key to ensure that nail wraps adhere smoothly and evenly to your nails.
While some of our customers love to go with the flow, choose the size that would fit their nail and apply it directly, some like to measure their nails to determine their size and observe their curvature to understand their shape.
To trim the wraps, please follow the steps below:
- Place a piece of tape on your nail;
- Trace your nail with a pen;
- Remove the tape and place it on the back of the wrap;
- Cut the nail wrap following the trace you did earlier. Try not to cut off too much of the design at the tip if possible.
You can also check out this video on YouTube on how to apply our wraps along with some tips and tricks!
Lastly, these pair of scissors that we found should help you cut the silver backing and tips off super fast, just as shown in the videos. Works amazing!
Wrap Orientation: Which Side Up?

Get the look: Frankly Candy Corn
A lot of our customers have been asking, “which way should the design go on the nails?” Our answer: you can place the wrap on your nail in whichever direction you like! 😅 You can place the design closer to your cuticle and use the file to trim the end or you can trim the wrap before applying it so that the design sits at the top of your nail.
Need more details about positioning the wraps? We’ve got you covered through our Wrap Orientation guide below:
Depending on your nail size, short or long, every lady wants to get most of the design on their nails as the orientation of the wrap can make a significant difference in the final look! Whether you're a professional nail technician or a DIY enthusiast, understanding the impact of these factors can take your nail game to the next level. So, let's get started on this fun journey of discovering how nail size and wrap orientation can transform your manicures!
For starters, when referring to the photos of some of our wraps on our website, the middle part of the wraps is ideally the cuticle part. This was designed this way, for it to be easier to identify the wraps even when viewed inverted.

Get notified for back-in-stock: Shape Up
In other words, working your way from the cuticle(piece attached to the strip) going up to the tip(piece that is loose) is highly recommended to avoid cutting the designs. Here’s an example of the design where the triangles are facing towards you and facing away when others are looking at it. Either way up, they look lovely!

Get notified for back-in-stock: Shape Up
If you're the one to prioritize seeing the design upright whenever you look at your nails while your fists are slightly clenched, you’d want to apply the top of the Eiffel Tower near your cuticle and the rest woud be at the tip of your nails.
In order to see the design upright from a second or third-person point of view, here's an example of how the wraps would be positioned if the natural nails are longer:

Get notified for back-in-stock: C'est la Vie
If the natural nails are shorter, they would be positioned the same way and have the excess from the tip going down trimmed:

Get notified for back-in-stock: C'est la Vie
Sometimes, you just need to go with the flow and follow your nail's natural shape and curves. Let those wraps hug your nails in all the right places. Snip away any excess wrap using tiny scissors or nail clippers. Just be careful not to get too close to your nail and risk peeling off your fabulous creation!
Each set comes with 16x pieces and should be big enough for most people. The smallest wrap in our set is 5/16" in / 8 mm wide, while the largest wrap is 5/8" in / 16 mm wide.
With the many nail lengths,widths, size and shapes, we truly understand that getting the design upright all the time can be quite the challenge especially for the more elaborate styles but we’re here to help you out and we support you whichever way you decide to put the wraps on!
Tips and Tricks for Wide Nail Beds
If you have wide nail beds, you know that finding nail wraps that fit properly can be a challenge. But don't let that discourage you! Here’s a guide filled with hacks to help you achieve a flawless, salon-worthy manicure.
- You can use a colored base coat that matches the majority of the color on the wraps.
This technique works particularly well when the wrap is just slightly too small for your nail. By applying a base coat that matches the design of the wrap, you can create a seamless transition between the wrap and your natural nail, effectively disguising any areas where the wrap may not cover completely.
Additionally, if you do experience any lifting or peeling of the wrap, the base coat will help to hold it in place until you can reapply or remove it completely. Using a base coat is a simple yet effective way to customize your nail wraps to fit your wide nail beds while also prolonging their wear time.
- Applying the wrap on one side and lightly stretching to the other side.
Another technique that can help to make your nail wraps fit better is to apply the wrap on one side and then lightly stretch it to the other side. It's important to note that when using this technique, it's essential to be gentle and avoid pulling the wrap too tightly or stretching it beyond its limits. Doing so can cause the wrap to rip or tear, leaving you with a less-than-perfect manicure. Instead, focus on applying gentle, even pressure as you stretch the wrap to the other side of your nail. You can also heat the wraps with a hair dryer for a few seconds to make them pliable and easier to work with.
Get notified for back-in-stock: Marble-lous Sea
- Try to apply the wrap sideways.
This technique involves rotating the wrap so that it runs horizontally across your nail bed rather than vertically. By doing so, you can create a custom fit that better accommodates the width of your nail. It's also important to choose designs that will work well with this technique. For example, geometric or abstract designs with clean lines and simple shapes may be easier to apply sideways, as they can be aligned more precisely with the shape of your nail bed.
- Using two wraps on one finger.
If you're struggling to find a nail wrap that fits your wide nail beds, you may want to consider using two wraps on one finger. This technique involves cutting a single wrap in half and applying each half to either side of your nail bed, leaving a small gap in the center that can be covered with a smaller wrap or a complementary nail polish. This method works particularly well for patterned wraps that are repetitive, like polka dots, stripes, and solids. Lastly, finish off with a top coat so it smooths out a surface and no one would notice the trick you did!
Kid-Approved Pedicures for Mini Fashionistas:

Let's not forget our little rockstars! While our pedicure wraps are made for our toes, we’re happy to say that you can use them on your kid’s nails, too!
Whether it’s a reward for a job well done or a bonding moment with grandma and mom, our pedicure wraps are perfect for our customers with wider, shorter, and even differently-shaped fingernails, too!
Our pedicure sets come in 26 strips with the largest wraps being 21mm wide and 27mm long and with the smallest wrap being 8.5 mm wide and 12.85mm long.
We've made our wraps with non-toxic materials, so they're totally safe for use on nails. If you're thinking of using them on your child's nails, just be aware that kids love to taste everything! We recommend being extra cautious and keeping a close eye on them while using our wraps. Your child's safety is our top priority!
Here's how to make pedicures with nail wraps a hit with the kiddos:
- It's all about the designs: Pick nail wraps with vibrant patterns and characters that'll make those tiny nails or toes twinkle with joy!
- Size matters (again!): Trim those wraps or look for options made especially for the little ones. We want their manicure and pedicures to be as fabulous as they are!
- Safety first: Keep an eye on the kiddos during the application process to prevent any nail wrap mishaps. Adult supervision for the win!
Take a look at these pedicure wraps being used on a 5-year-old's fingernails. Our customers, the grandmom and her granddaughter had such a lovely time together:

Get notified for back-in-stock: Lovely Lei
This one is from our friends at Chambliss Center for Children where we donated a few holiday wraps to help sprinkle the Lily and Fox Love! They had a fun day having a nail bonding session!

And that's it! Applying nail wraps can be a creative and stylish way to enhance your nails, regardless of their size or shape. You can obtain a flawless application of nail wraps that exactly fit your nails by using the tips and tricks covered in this blog.
Remember to properly prepare your nails, select the right size of wraps, warm them up for better adhesion, and take your time to apply them smoothly. A long-lasting and attractive outcome can be achieved by trimming and filing the excess wrap, sealing the edges, and maintaining appropriate nail care practices.
Embrace the versatility of nail wraps and have fun experimenting with different patterns, designs, and textures that suit your personal style. With a little practice and creativity, you'll be able to achieve stunning nail looks that showcase your individuality anytime you want. And don't forget to let the kiddos join the fun with pedicures that'll make them feel like mini fashion icons.
Congratulations, nail trendsetters! You've mastered the art of rocking nail wraps for every nail size and shape. So go ahead, get creative, and show off those fierce nail wraps with confidence! Your nails deserve a touch of glamour, and nail wraps are a fabulous way to achieve that effortlessly! Check out our new arrivals collection here: Lily and Fox New Arrivals

Also in Blog

Bridesmaid Nails Made Easy with Lily & Fox
There’s something about a June wedding that feels effortless in the best way. The weather cooperates, the light lingers a little longer, and everything seems to glow just right. Gardens are in full bloom. Outdoor ceremonies feel natural instead of risky. Even the smallest details—like the way a bouquet looks against a soft sunset—feel elevated without trying too hard.

Solid Color Nail Wraps: The Ultimate Guide to Effortless Style and Everyday Elegance
At Lily & Fox, solid color nail wraps continue to be customer favorites for a reason. They are incredibly versatile, easy to style, and reliable for everyday wear. Solid wraps can stand beautifully on their own or serve as the foundation for more creative nail designs. They are perfect for beginners who want a simple, flawless manicure and equally loved by experienced nail enthusiasts who enjoy experimenting with combinations and finishes.

What's Your Nail Health Score?
Be honest — when was the last time you really thought about your nail health?
If your answer is somewhere between “uh…” and “only when one breaks five minutes before an event,” you’re definitely not alone.
The good news? You don’t need a microscope or a salon visit to get a quick read on how your nails are doing.
That’s where this quiz comes in.
In just a couple of minutes, you’ll:
- Discover your Nail Health Score
- Learn what your score actually means
- Get personalized tips to help your nails grow stronger
- Pick up easy habits that make a big difference


Rebecca Fox
Author