The Art of Flawless Nail Wraps: Say Goodbye to Bubbles

Nail wraps have become a popular choice for achieving stunning nail designs without the hassle of intricate nail polish painting. However, one common issue that can arise is bubbling, which can ruin the flawless finish you desire.
In this blog post, we'll share five tips to help combat bubbling when using nail wraps. By following these tips, you can ensure a smooth and professional-looking manicure that lasts.
1. Use the Right Base and Top Coat: Not all formulas are created equal, and what works for one person may not work for another. Therefore, it's essential to explore different brands and products until you find the perfect match for your unique nail chemistry.
Some of our favorite base coats include: Orly Bonder Rubberized, Essie Base Coat Here to Stay, and Sally Hansen Hard as Nails.
For top coats: Essie Platinum Grade Finish, Essie Gel Setter, and Sally Hansen Advanced Hard As Nails work really great with our nail wraps.

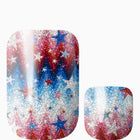
Image by devmaryna on Freepik
Base coats:
Orly Bonder Rubberized
Essie Base Coat Here to Stay
Sally Hansen Hard as Nails
Top coats:
Essie Platinum Grade Finish
Essie Gel Setter
Sally Hansen Advanced Hard As Nails
2. Remember to give your nails a little time before getting them wet: It's best to wait at least 6 hours before submerging them in water. If you have some dishes to tackle or need to do some cleaning, consider wearing gloves. They'll help protect your nail wraps and keep them looking great.
3. Do The Roll: Avoid shaking the polish bottles to mix them. Rolling them between your palms is a better option. Shaking can cause bubbles to form, which can ruin your nail wraps.
4. Smooth Out Air Bubbles: If air bubbles start to form while applying the nail wraps, lift the edge of the wrap and smooth it out. Do this with a cuticle pusher or a clean, lint-free cloth. Get rid of any air pockets or creases as you press the wrap back down onto the nail surface. Taking your time with this step will result in a smooth, bubble-free finish.
5. Apply Wraps in a Controlled Environment: Make sure to apply the nail wraps in a clean, dust-free area. This helps reduce the chances of air movement affecting the adhesion of the wrap, resulting in bubbles. Also, remember to avoid direct sunlight or heat sources that might affect the adhesion of the wrap.
In conclusion, whether you're a seasoned pro or new to the world of nail wraps, the key to getting a perfect manicure is to follow these tips closely. By doing so, you'll achieve beautiful and pristine nails that you can show off to everyone. Try it today, and happy wrapping!

Also in Blog

Unbox Your Best Mani: The Lily & Fox Experience
There's nothing quite like a fresh package on your doorstep, especially when it's your new Lily & Fox nail wraps! That excitement you feel when it arrives? That's actually the start of your manicure journey. It's more than just opening a box; it's the beginning of transforming your nails. This blog post will walk you through the whole experience, from the moment you get your package to applying your first stunning set.
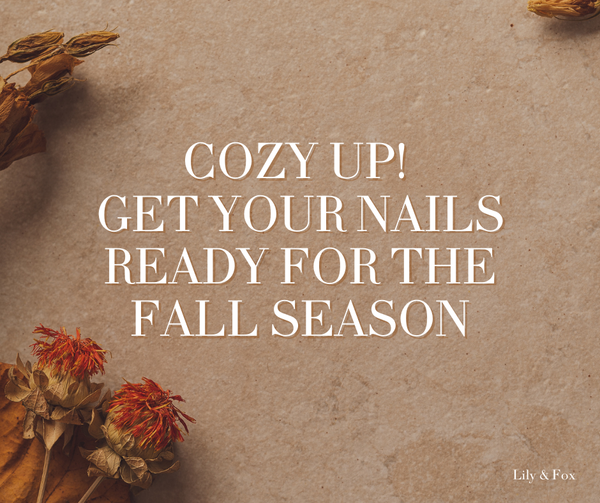
Cozy Up! Get Your Nails Ready for the Fall Season
The air is getting a little crisper, the leaves are starting to turn, and our cozy sweaters are making a comeback. That can only mean one thing: fall is officially here! It's a season of comfort, warmth, and beautiful aesthetics. And what better way to match the cozy vibe than with a fresh manicure?

The Reverse French, Reimagined in Nail Wraps
You know the French manicure. It’s the white-tip classic that’s defined "clean nails" for decades. But lately, a quieter trend has been rewriting the rules—one that flips the French on its head, literally. Enter the reverse French manicure. Instead of highlighting the tip of your nail, this look draws attention to the base, creating a soft, unexpected twist that feels fresh, fashion-forward, and totally in step with 2025’s clean, minimal aesthetic.


Rebecca Fox
Author